Pages

Showing posts with label Creative Embellishments. Show all posts

Saturday, June 3, 2017

Scraps of Darkness Blue Skies and Sunshine Layout

Hello there crafty friends. Here you will find my layout I created using the 


As soon as I saw the colors I was like this will be perfect for my brother's upcoming nuptials. They had such a beautiful wedding. It was outdoors and just a perfect day. I've waited patiently for the pictures to come in. Her colors were grey, white and yellow!! You can bet I will be doing several projects with these fabulous photos from such a spectacular wedding filled with love. 
My brother Robert and his new bride Samantha his high school sweetheart.


Now lets take a closer look.
Here I used the the circle chipboard from Blue Fern Studios. The flower was also included in the kit.
I painted the chipboard white. The other chipboard was from my stash and I heat embossed it in gunmetal grey.


On this next photo you can see I used some grey splatters to help accent the page. There is a spatter of some yellow as well. I chose to use a stencil from my stash to make this cool graphic. I also used the stamp that came with the kit. You will also find the blue Ice Resin sparkles. I love those things.:


Next up is a section of the layout where I used more chipboard from my stash that I painted with white gesso. I edged the chipboard with the blue ink that came in the kit. I layered the picture on top of some burlap looking ribbon. Underneath the chipboard you can see more splatters and some of the blue Ice Resin sparkles.


Next up is another chippie from my stash that I heat embossed with gunmetal grey. I also placed some beads with modeling paste. I also once again put some blue Ice Resin sparkles. I just loved sprinkling those all over the page. I also made a small tear at the bottom of the page and tucked in a little lace. 


Next up is the flowers that were included in the kit. I wanted to tuck them in the corner to bring out the white and green as seen in the photo. 


Make sure to check out the store because we DO have some of the add on's still available.
Check out all the available goodies here: Scraps of Darkness.

Also check us out on Facebook and join in our challenges and swaps.
I have to say I was inspired by Gabrielle Pollacco's layout I discovered on Youtube. Here is her video.

Happy Scrappn!


Tuesday, October 18, 2016

LOVE THIS a layout from September Kit Blush (SOD)

I've been so enjoying my September kit from Scraps of Darkness called Blush, featuring Prima Rossibelle Collection. 


Below is my layout titled LOVE THIS. I wanted to do an older picture of my sister and I. It was a good day and we were being silly.

I think these papers went so well with it.

First you can see in this picture I used some Creative Embellishments Chipboard for this page. I altered it by painting it with some Tim Holtz Distress Stains. Then I painted some Shimmerz - Inklinz Watercolors on top. I did use a light purple on the left end.


Here you can see some modeling past I put to the left of the layers and just lightly went over it with some Tim Holtz ink and then some Shimmerz - Inklinz Watercolors in a seafoam green color.


Here were a cluster of flowers I used from the Prima Rossibelle Collection and just lightly kissed them with some Shimmerz - Inklinz Watercolors.


Here I added another accent with modeling paste and Shimmerz - Inklinz Watercolors.


In the top left I used the Tim Holtz stencil and ink and some modeling paste and lightly grazed the top with some Shimmerz - Inklinz Watercolors . I also wanted to use some Prima bling to jazz up the page.


Here's a step back from the top left corner so you can see the bling and stencil work. I did separate the flower from the bling assortment.


Here you can see the final layout. I worked heavy on the top corner so it curved up a little. Have you found that happening to you?  I enjoyed working with the Prima Rossibelle Collection


Make sure to check out the current kit and any previous add-on's in the store located here.


Sunday, September 18, 2016

September Kit from Scraps of Darkness


Hello my crafty friends... have you SEEN the September Kit from Scraps of Darkness called the "Blush Kit"?? 
This beautiful kit has gorgeous Prima Rossibelle!
You can find our kit's and all the add ons here

wow.. Full of Prima goodies... I love me some Prima.. How about you? It was joy to work with this kit.


Here are some close ups:

I painted some chipboard from Creative Embellishments.I pained the chipboard with Prima's Art Alchemy acrylic paint: Opal Magic Green Gold. You can find it in the store here. I put Prima Flowers on each side and put some gesso on the flowers. 


Here I layered some Prima Ephemera on the top of the photo. I sprayed the flowers here with Gesso. I also did various ink splatters on the paper.


This Bird Charm was in the kit.  It so cute I paired it with a little bloom. You can see more paint splatters around on the page. 


Here I laid a few more Prima pieces... bits of splatter..


Here is another wonderful piece from Creative Embellishments. I painted with some vintage looking paint. 


Another angle of this corner. 


 Here you can see the Prima stamps I used.. the bird is pictured here in pink.


Here I used more Prima stamps around the hanging decoration.


Here is the final project......This is Jamie with one of her dogs. I think its a precious moment captured of this two.


Thanks for stopping by!!! 

Happy Scrappn!!


Thursday, June 9, 2016

Uniquely You

Hello Crafty friends!  Here is another project featuring wonderful products that can be found in the Scraps of Darkness Store just click here to check out their products and kits!

I am so excited I got to use some Blue Fern papers and they are so gorgeous. I used papers from the Serendipity line. The beautiful lady in the photo, Jamie, is a friend of my sister and me.  They went to high school together and have maintained that friendship over the years. She had a photo shoot last year and this shot just screamed to be scrapped!!

I used the flip side of "Chronicle" from the Serendipity line from Blue Fern Studios.
I also used Rebecca Baer Marrakech stencil.
Here is a close up of the stencil work on the paper.


The next item you can find in the Scraps of Darkness store is this awesome Prima Art Ingredients Glass Glitter...I used some gel medium and the glitter held really well.


I'm definitely gonna have to find more places to use this glitter.  Here you can see a feather I tucked in to match what she is wearing.


Now you're gonna see me alter this cool chipboard from Creative Embellishments. I wanted to make it black to match my layout and anchor the left side of the layout. I used Art C Ultra Chalk Paint in black from the the Color Add On kit.. Here you can see how that turned out. I wanted it a bit deeper rich so I used some Ken Oliver Color Burst Lamp Black to intensify the blackness. It worked like a charm.


I like how it turned out and it looks great in the sunlight.


On the other side of the layout I used another gorgeous Creative Embellishment.. its a wonderful dress form with roses inside. I've never seen one so detailed. I brushed a bit of black ink just little to have blend a little into the background.


Here you can see I used some more of the color burst to intensify the color of the flowers. The flowers I used here were....


Here you can see another flower that I used the Color Burst and placed on top of a Prima metal embellishment.


Now the final layout. I loved adding a few feathers under the photo ...thanks for stopping by.


I am also entering this in the Creative Embellishments June Challenge:


 The picture they have up has like fairies and it seem ethereal, quiet and magical. I used some CE chipboard and wanted to create an ethereal sense with my layout almost magical and quiet.


List of products used that can be found in the Scraps of Darkness store:

Blue Fern Studios Serendipity - Calling Cards
Blue Fern Studios Chronicle
Magnolia Shabby Chic Roses - Mahogany
Prima Art Ingredients Glass Glitter
Rebecca Baer Stencil - Marrakech
Ken Oliver Color Burst Liquid Metal
Feathers, flourish, bling, lace from previous Scraps of Darkness & Elegance Kits.

Happy Scrappn

Wednesday, December 9, 2015

Grandma Jean


My dad asked me to make a layout of one of his remaining pics of his mother, Grandma Jean.
The photo wasn't in the best condition and it was a pic of a pic of a pic... you get the idea.


I definitely wanted a vintage feel to it. My dad asked for the colors of peach and blue. I went with a type of teal blue. 

Some interesting facts about my grandma was that she was a Police Officer- Meter Maid back in the 50's in Little Rock, Arkansas. She was also allowed to carry a weapon. Later she went on to be a nurse. I think the photo is just lovely.


Here you can see the word chippie from Creative Embellishments.


This is what I used to paint on the above chippie.


Below I used one of my StencilGirl stencils. I love their quality and variety. Also you can see some Prima flowers and the most top notch butterflies handmade by Renea H. Here you can see all her other fabulous products. 


Here you can see where I used my Anna Griffin embossing folders and I used my Anna Griffin Minc machine for that blue swirl. The pin was handmade by a fellow Flying Unicamper.


Here you can see some more stencil work and playing with microbeads.. loved playing with the beads.


My dad was so happy with this. He wants to make copies of it and send it to his siblings.

Well thanks for looking and have a great day.
Happy Scrappn!
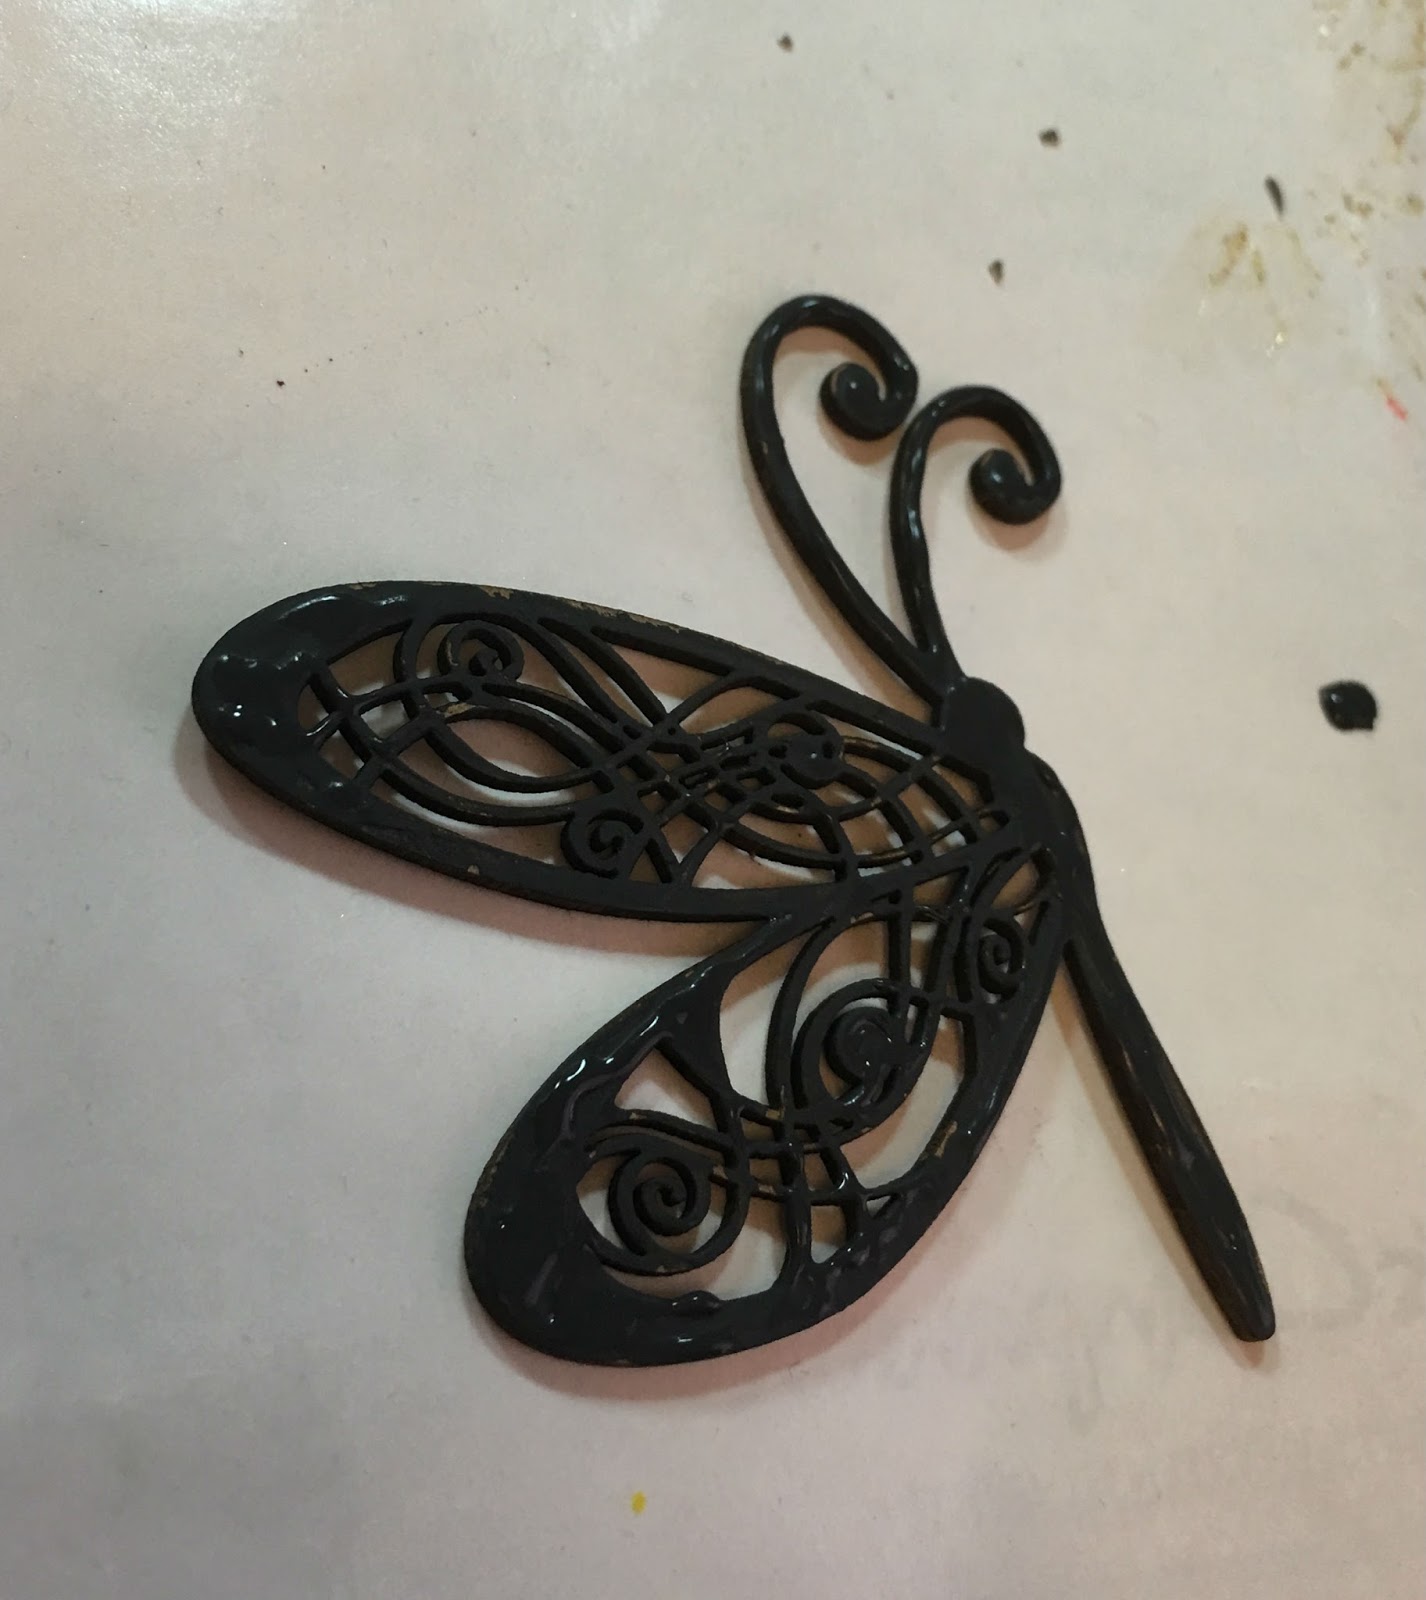

Sunday, November 22, 2015

Celebrate Card

Here is the card that we learned about at camp and here is a mini- tutorial on it.
It's just adorable!!!!

Quilling is not for the faint of heart.. but these flowers are awesome.


Precut your leaves from your favorite die cut machine and special flower. There are many in the market.  You'll want to gather the flowers in the different sizes and roll up the edges. You'll glue the littlest into the next size up keep it squeezed together.


It will look something like this. From here you would lay it aside and let the glue be setting. 


Here you can see that you'll want to roll the edges. Tuck in some flowers and leaves. The coordinating papers really help so you can flip them over to alternate the patterns

.

Here you can see I placed a doily and used foam tape to add depth and dimension, so that later I could tuck in those pretty tags. Also go ahead throw on the bling. That step will then be out of the way.


Here you can see more of the round scalloped embellishment with the tags tucked in. Also layer a smaller circle on top of the scalloped piece.


Below you can see what  I used to paint the pretty chippie, from Creative Embellishments.


Here are some close ups for you:


Here you can see the 2 tags used. Tie some pretty ribbon to make a bow and adhere some pretty metal embellishments.


As you can see .. tucking in various elements adds depth to this wonderful card.

Thanks for looking and Happy Scrappn!